|
|
|
|
#1 |
|
Участник
|
Sumit Potbhare: Modern POS installation on Windows Laptop | D365 for Retail
Источник: https://sumitnarayanpotbhare.wordpre...65-for-retail/
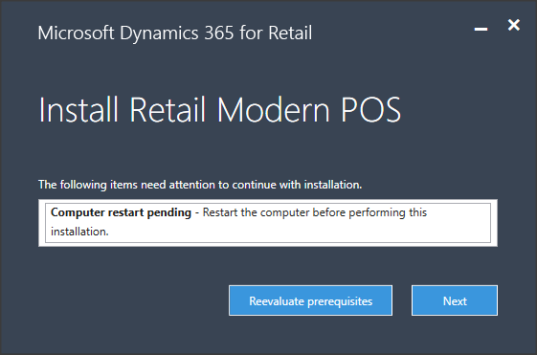
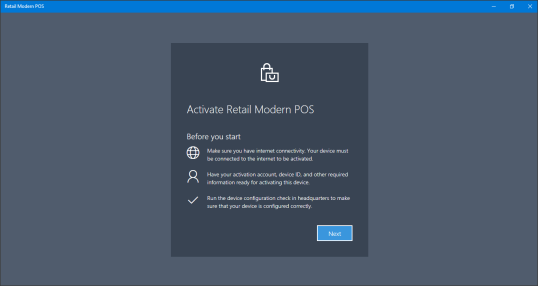
============== Hi Guys, It’s been a long time since I have posted any blog. So, here is the first blog on D365 for Retail. I know I am very late on any blog on D365 but “Better late than Never“. As all know, we no longer have Enterprise POS with D365 for Retail but we have 2 amazing POS UX – Cloud POS and Modern POS. In this blog, we will see the installation of Modern POS application with D365 for Retail. Modern POS a point-of-sale app for PCs, tablets, and phones. The modern POS includes the basics around the tender/transaction, but now also extends into a rich clienteling or assisted sales offering, as well as back-office capabilities at the employee’s fingertips. The power of this new modern POS is that it becomes much more than a Point of Sale experience – it is a customer engagement dashboard! I would like to give you a brief walk-through on the installation and activation process of Modern POS. Follow below steps to install and activate Modern POS on Windows Laptop. In my case, I am using a Windows laptop with Windows 10 Enterprise license. This installation works with Win 10 pro and Enterprise but not Win 10 Home edition. So make sure your Windows laptop is either on these Windows edition. Follow the steps for the installation- 1. Connect to D365 F&O.  2. Navigate to Retail > Channel setup > POS setup > Devices. Usually, when you activate Modern POS, the Devices are automatically created through the guided activation process or alternatively you can create the Devices in Advance and the select them during activation. We will see this on the activation screen. Now from the activation screen download the Modern POS installer. Click on Download> Retail Modern POS.  3. In this illustration, I am using D365F&O version 8.0. The name of the download file should be ModernPOSSetup_V80308022.  4. After the download, run the installer.      5. Restart the computer once, If the installer asks for it.  6. Start the Modern POS application and click Next.  7. Enter the Retail Server URL. You can get this URL from Channel profile configuration. Navigate to Retail > Channel setup > Channel profiles. Copy the URL and paste in the Server URL and click Next. 8. Enter your work account credentials.  9. Select the Store name from the list. If you can’t see the Store name, make sure the worker assigned to your user (in D365F&O) should be linked with the Store using the Employee Address book. Click Next.  10. Select the Register and Device.  11. If the Device is not created earlier, then click Add a device and enter the Device name.  12. Click Activate.  13. Click Get Started.  Feel free to reach out for any clarifications. If you like my blog posts then comment and subscribe to the blogs. Please follow me on Facebook | Google+ | Twitter | Skype (sumit0417) Enjoy RetailDAXing. Disclaimer: The information in the weblog is provided “AS IS”; with no warranties, and confers no rights. All blog entries and editorial comments are the opinions of the author. Источник: https://sumitnarayanpotbhare.wordpre...65-for-retail/
__________________
Расскажите о новых и интересных блогах по Microsoft Dynamics, напишите личное сообщение администратору. |
|
|
|
|
| Опции темы | Поиск в этой теме |
| Опции просмотра | |
|